Notes taken 22 & 23 June 2024.
Scans of pages of the book courtesy the Internet Archive.
(This book is in the public domain in the USA, so I am permitted to reproduce images! That will enhance the discussion here versus the other summaries.)
A sketch is a means to an end, and not the end. The aim in sketching is to put down as simply and directly as possible the lines shapes and tones that will best express the character of the subject. Composition and carefulness comes later; The point is to try for a spirited rendering of the main characteristics of the subject.
It is best to use a blunt-pointed pencil. The pencil may be sharpened to a point, but then rubbed down on a piece of practice paper until the strokes have a bit of width. The intent is for the pencil to offer thick, broad strokes, yet be able to be turned such that a sharp line could be drawn as necessary.

One must be able to lay strokes vertically, horizontally, or obliquely with equal ease. The hand must learn to adjust instantaneously the pressure on the pencil, so that the result may be any desired gradation from light to dark, or from dark to light, or a tone of the same value throughout. This is attained with practice. To build this skill, practice laying pencil strokes. The paper should remain in one position, the hand changing its position according to the direction in which the strokes are to be laid. The strokes should be made in a light and flowing manner, not mechanically side to side. Practice both lifting up the pencil at the end of each stroke as well as carrying back and forth.
There are three essentials to successful sketching: Direction, character, and manner/grouping.
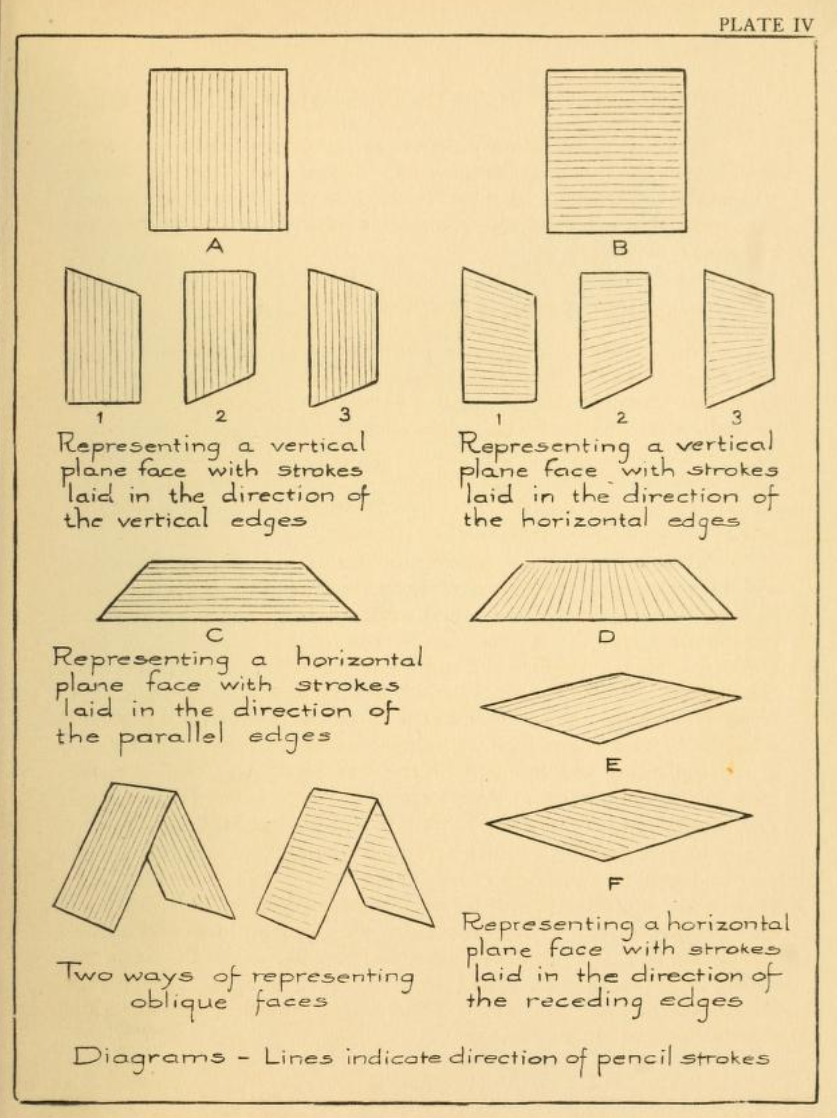
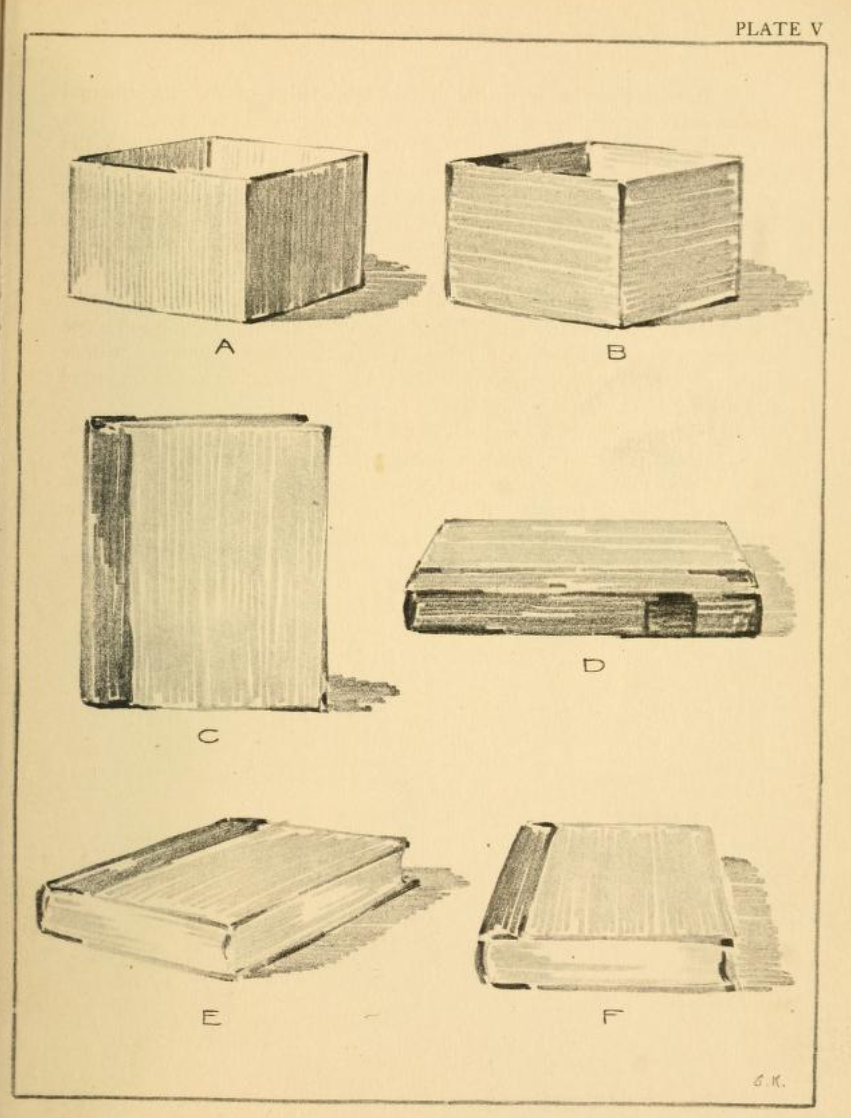
In perspective, care must be taken when drawing lines according to foreshortening. When representing a receding face, vrtical lines remain unchanged in direction, but are shortened. Horizontal lines change their direction depending upon the horizon, up or down, converging towards the horizon. Plate IV shows this in practice. From this arises the question of which is more truthful to use in rendering - but there is no clear answer. In general, a vertical plane suggests vertical strokes, but the texture of the surface may determine a different direction. Plate V shows a book, which is one such example that demonstrates a variety of directions for lines on a given plane. Additionally, figure C and figure D differ in the stroke used for the cover of the book, demonstrating that there is no correct answer. A way to practice using both on a given surface for textural reasons would be to imitate a wicker basket using only vertical and horizontal lines.
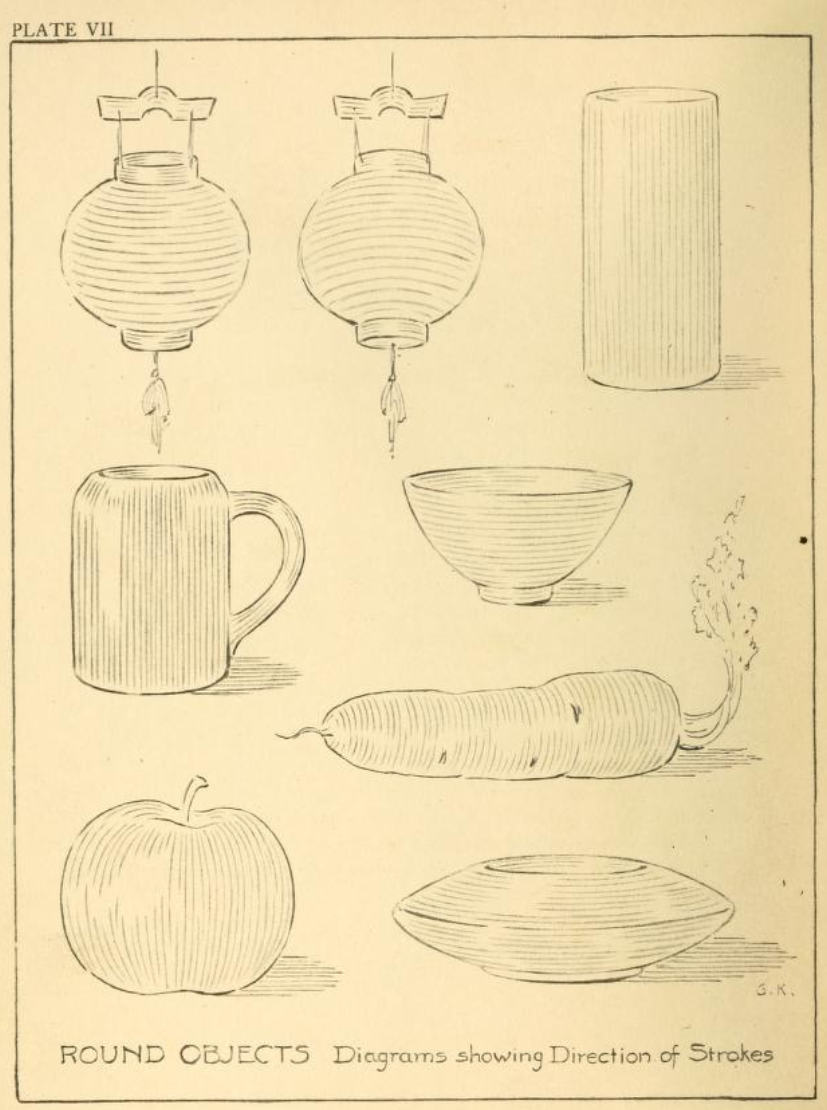
The strokes must follow the contour of the form.
In addition to the direction of strokes, the character is equally as important. Character is: long or shart, dark or light, wide or narrow, etc. laid so closely as to approximate a solid tone or with enough separateness to allow the paper to show through - all according to the quality or texture desired.
Long or continuous strokes laid rather closely suggest smoothness of surfaces. Short or broken strokes laid less closely suggest the opposite - roughness or unevenness of surface.
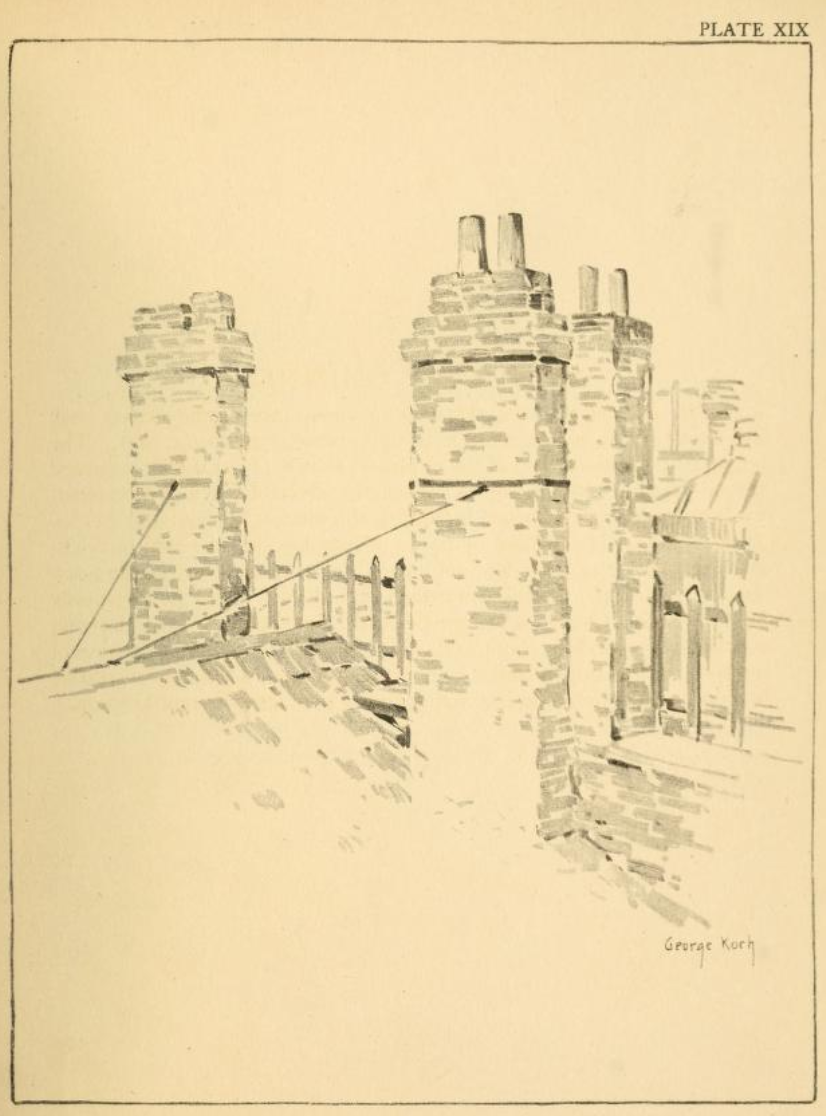
For example, a chimney suggests the use of short strokes to suggest the effects of brick construction, the white lines suggesting the mortar between the bricks. Do not, however, sketch out every single brick. A suggestive treatment should be used, drawinga little more carefully here and there, especially neasr the center of interest, and pulling together or omitting the rest. Remember, we are aiming for an artistic rendition rather than a photographic reproduction.
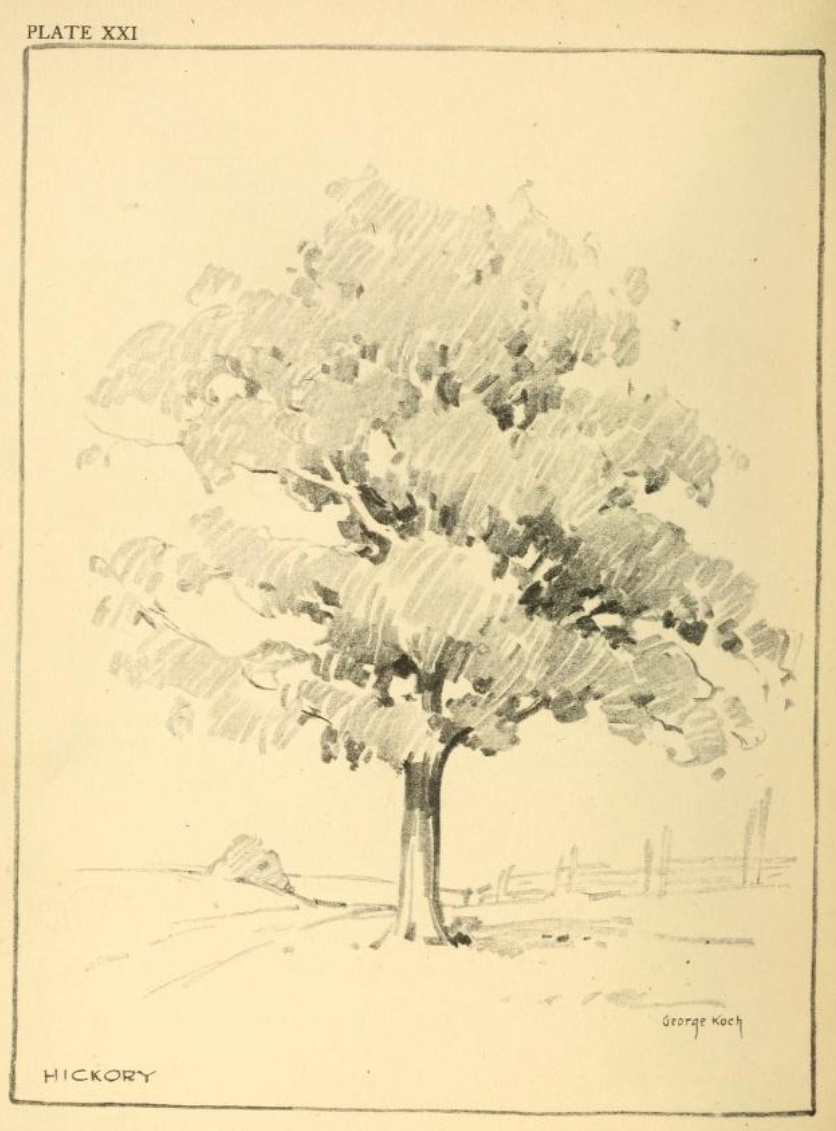
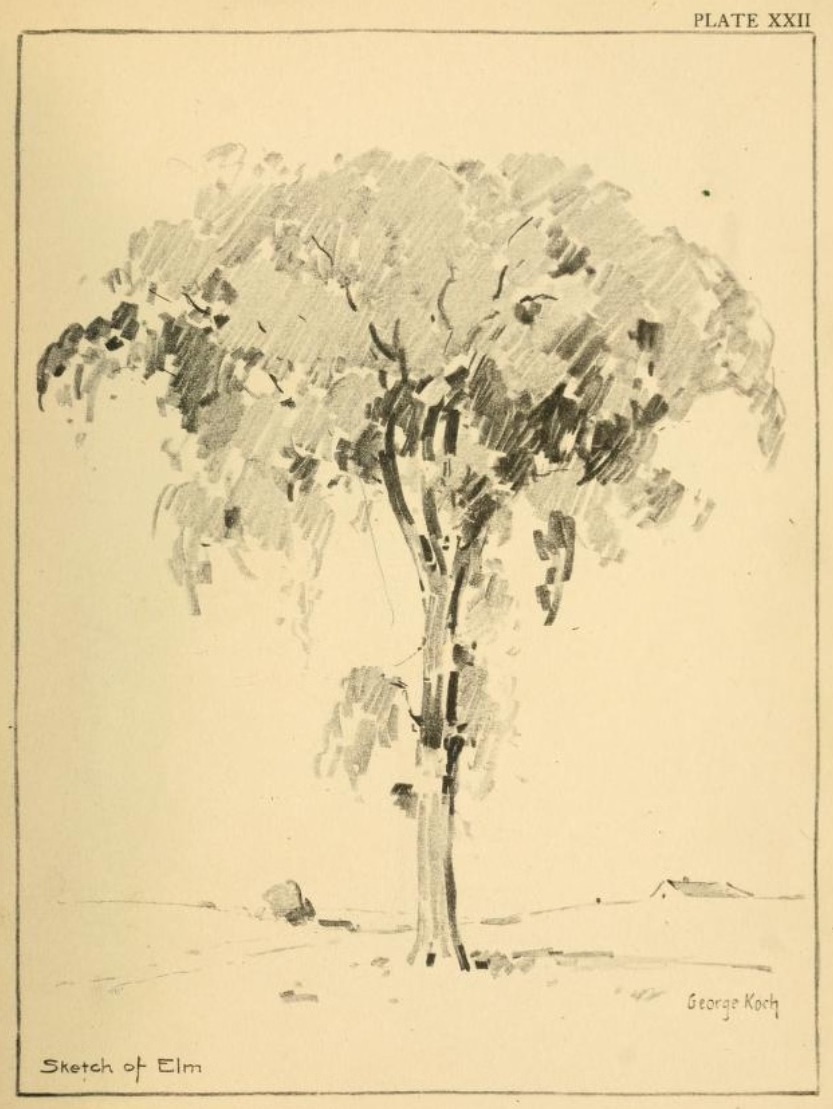
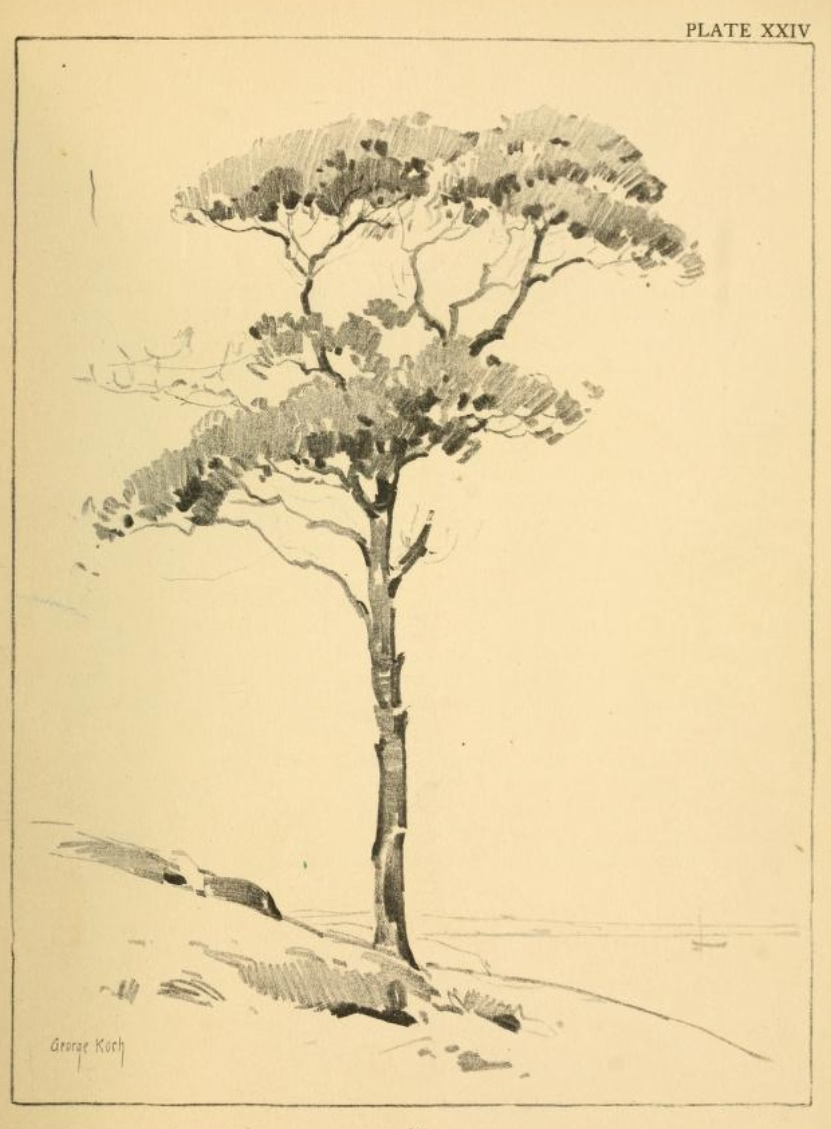
As another example, a tree. Seeing a tree simply is difficult, so look at the tree with eyes half closed. The arrangement of light and shadow will appear much more simplified. Study the tree in this way, gathering its general outline against the sky and the principal masses of light and shadow. Then sketch in lightly the trunk and principal branches with a few touches in the shape of the tree. Now, begin at the top and work down, laying down strokes for the foliage. For the large and denser masses of foliage near the center of the tree, the strokes may be long and grouped quite closely, while nearer the edge, where the foliage is much thinner and broken up, the pencil work must be correspondibly light and open, the strokes shorter and grouped less closely.
